


Have you ever wanted to create something beautiful with your own hands? Something simple yet deeply artistic? That’s exactly what the pinch pot offers — a creative journey that begins with a single ball of clay and a bit of imagination. Just like molding life’s challenges into something meaningful, shaping a pinch pot reminds us of patience, creativity, and mindfulness.
In this guide, we’ll explore the fascinating world of pinch pots — from their ancient roots to modern artistry, techniques, and design ideas. Whether you’re a beginner or someone rediscovering your love for clay, this step-by-step guide will help you craft your own masterpiece.
What is a Pinch Pot?
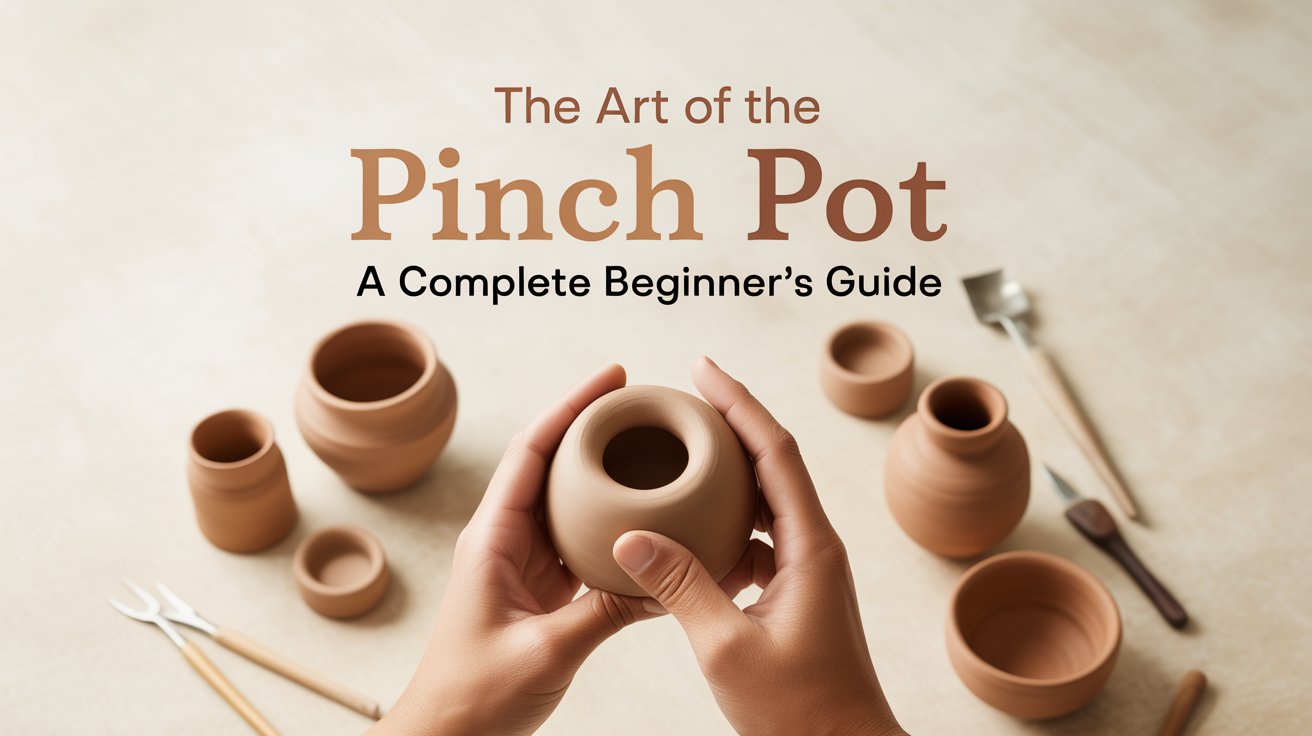
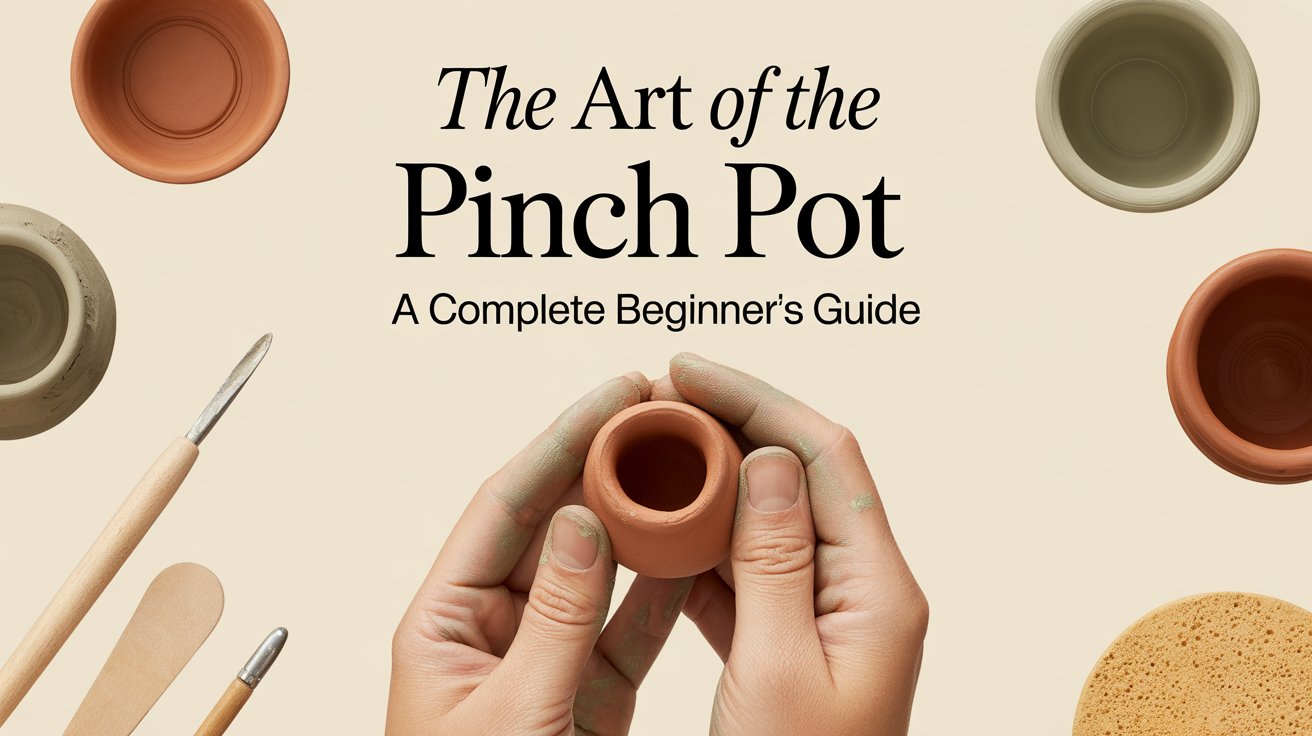
A pinch pot is one of the oldest and simplest forms of pottery. It’s made by pinching, pressing, and shaping a ball of clay into a bowl or cup shape using only your fingers. No pottery wheel, no complex tools — just your hands and imagination.
Think of it as sculpting your thoughts into tangible art. Every press, pinch, and curve adds a personal touch, making each pot unique.
The History Behind Pinch Pots
Pinch pots date back thousands of years. Ancient civilizations used them for cooking, storing food, and religious rituals. From Native American tribes to early Chinese and African artisans, pinch pots were a universal form of expression long before modern tools existed.
Their enduring appeal lies in their simplicity — a reminder that creativity often begins with the most basic of materials.
Why Choose the Pinch Pot Technique?
So, why do so many artists still love this primitive technique?
Because it connects you to the raw essence of creation. You’re not just making pottery; you’re experiencing mindfulness, patience, and creativity in their purest form.
-
It’s affordable and requires minimal tools.
-
Perfect for beginners and children.
-
Encourages creativity and individuality.
-
Can be used for decorative or functional pieces.
Essential Materials You’ll Need
Before diving into clay, let’s prepare your toolkit. You’ll need:
-
Clay: Earthenware, stoneware, or air-dry clay all work.
-
Water bowl: To keep your hands and clay moist.
-
Sponge: For smoothing surfaces.
-
Needle tool or toothpick: For adding designs or holes.
-
Slip (clay mixed with water): To fix cracks or attach pieces.
That’s it! You don’t need a studio full of tools — just your hands and creativity.
Step-by-Step Guide to Making a Pinch Pot
Creating a pinch pot is easy if you follow these steps carefully.
Step 1: Prepare Your Clay
Knead your clay to remove air bubbles and make it soft. This step ensures flexibility and prevents cracks later.
Step 2: Roll a Ball
Form a ball roughly the size of an orange. Smooth out any cracks or lines.
Step 3: Make a Hollow
Use your thumb to press into the center of the clay ball. Be gentle — you’re not digging; you’re shaping.
Step 4: Start Pinching
Using your thumb inside and fingers outside, slowly pinch around the clay to widen the opening. Rotate as you go, keeping the walls even.
Step 5: Smooth and Shape
Once you’re happy with the size, use a damp sponge to smooth the surface and rim.
And there you have it — your first pinch pot!
Common Mistakes and How to Avoid Them
Even the best potters make mistakes. Here’s how to avoid the common ones:
-
Cracking: Keep your clay moist but not soggy.
-
Uneven walls: Rotate the pot as you pinch to maintain balance.
-
Collapsing shape: Don’t make walls too thin.
-
Air bubbles: Always wedge your clay before starting.
Remember, pottery is about patience, not perfection.
Decorating and Designing Your Pinch Pot

Once your pot is shaped, it’s time for the fun part — decoration!
-
Carving: Use a needle tool to create textures or patterns.
-
Slip painting: Apply colored clay slip for unique designs.
-
Glazing: Add shine and color after firing.
-
Natural imprints: Press leaves, shells, or fabric into the clay for beautiful patterns.
Every design tells a story — make yours personal.
Firing and Finishing Techniques
If you’re using traditional clay, firing is essential to harden your pot.
-
Bisque firing: The first firing, done at a lower temperature, removes moisture.
-
Glaze firing: Adds the final layer of color and protection.
-
Air-dry clay: Simply let it dry for 24–48 hours, no kiln needed!
Finishing gives your pot strength, shine, and durability.
Fun Pinch Pot Project Ideas
Want to get creative? Try these easy project ideas:
-
Mini succulent planters
-
Candle holders
-
Jewelry bowls
-
Animal-shaped pots
-
Decorative dishes
Each creation is a small piece of you — handmade, heartfelt, and one-of-a-kind.
The Mindful Art of Pottery
Pottery isn’t just about art — it’s therapy. The act of shaping clay with your hands can be deeply calming and meditative.
It’s like grounding your thoughts into something tangible. When life feels chaotic, molding clay brings focus, peace, and a sense of accomplishment.
Benefits of Pinch Pot Making
Making pinch pots offers more than just art skills:
-
Stress relief: The repetitive motion is soothing.
-
Enhanced creativity: You learn to experiment freely.
-
Improved focus: It trains your mind to slow down.
-
Sense of achievement: You create something from nothing.
Who knew clay could heal the mind and soul?
Caring for Your Handmade Pottery
To keep your creations looking beautiful:
-
Avoid soaking glazed pots in water for too long.
-
Clean gently with mild soap and a soft cloth.
-
Keep air-dry pots away from excessive moisture.
-
Display them in dry, stable environments.
Your pot may be delicate, but with care, it can last a lifetime.
FAQs
1. What type of clay is best for pinch pots?
Air-dry clay is perfect for beginners, while stoneware and earthenware are great for kiln firing.
2. How long does it take for a pinch pot to dry?
Usually between 24 and 48 hours, depending on the clay and humidity levels.
3. Can I paint my pinch pot before it’s dry?
It’s best to wait until it’s fully dry before painting or glazing to prevent cracks.
4. Do I need a kiln to make pinch pots?
No — air-dry clay works fine without a kiln, though kiln-fired pots are more durable.
5. Can children make pinch pots too?
Absolutely! It’s a fun, safe, and educational craft for kids of all ages.
Conclusion
Creating a pinch pot is more than just a craft — it’s an experience of connection between your hands, mind, and imagination. Every curve and pinch carries your personal touch, transforming a simple lump of clay into a piece of art.
So go ahead — roll up your sleeves, grab some clay, and let your creativity flow. Who knows? Your next masterpiece might just start with a single pinch.
Other Articles

NFL Quizzes: Test Your Football Knowledge Like a True Fan
Understanding the Apple Sweetness Chart


